Personalized Sewing Labels for Sensory-Friendly Clothing
Choosing personalized sewing labels for clothing involves more than picking a logo when the wearer is sensitive to seams or tags. A label that feels soft between your fingers can still rub once it is stitched into a collar, layered under a waistband or washed.
For home sewists and small clothing brands, the goal is to keep useful identification and branding without introducing an avoidable source of discomfort. That means evaluating the complete label: its edges, backing, fold, stitches and location. The most useful test is a finished sample worn by the intended wearer, not a softness claim on its own.
Start with the wearer’s preferences
Sensory-friendly clothing is not one fixed construction. One person may tolerate a smooth label at the side seam but dislike anything touching the neck. Another may find a folded label distracting because it moves, even when its surface feels soft.
Before selecting a label, ask where existing garments become uncomfortable. Distinguish between irritation from a sharp corner, pressure from a thick seam and the sensation of a loose tag brushing the skin. Each problem calls for a different adjustment.
If you are sewing for someone else, let them handle sample materials and choose between placements when possible. For a child or someone who communicates discomfort without words, pay attention to repeated pulling, scratching or avoidance of a particular garment. Do not assume that tolerating a label briefly means it will remain comfortable throughout the day.
Choosing personalized sewing labels for clothing: materials and edges
Material names help narrow the options, but they do not predict the feel of a finished label. Construction and finishing matter just as much.
Compare the finished surface, not just the label type
Woven labels form lettering and artwork with yarn. Printed labels place information onto a fabric substrate. Either approach can produce a comfortable result, but neither is automatically suitable for every wearer.
Inspect both faces. The reverse of a woven design can feel different from the front, while the feel of a printed label depends on its fabric and print finish. A visually detailed design is not necessarily uncomfortable, but it should be assessed as a finished sample rather than judged from artwork alone.
Check edges, corners and folds
Some cut or sealed edges can feel firmer than the center of the label. Folded ends may cover cut edges, but they also add layers. A center fold creates a loop that can move against the body.
| Detail to inspect | Possible source of discomfort | What to check on a sample |
|---|---|---|
| Cut edges | Firmness or a scratchy ridge | Whether the edge catches against skin or fabric |
| Corners | A small point pressing into the body | How corners behave when the garment bends |
| Folded ends | Added thickness | Whether the fold creates a noticeable lump |
| Reverse surface | Texture different from the front | Which face actually touches the wearer |
| Sewn attachment | Raised stitches or exposed thread ends | The complete attachment, inside and outside |
Choose the smallest practical dimensions that preserve readability and allow secure attachment. Making a label tiny is not helpful if it requires dense stitching or leaves essential information difficult to read.
Choose placement before finalizing the design
With personalized sewing labels for clothing, location can matter as much as material. Avoid treating the back neck as the default simply because it is familiar.
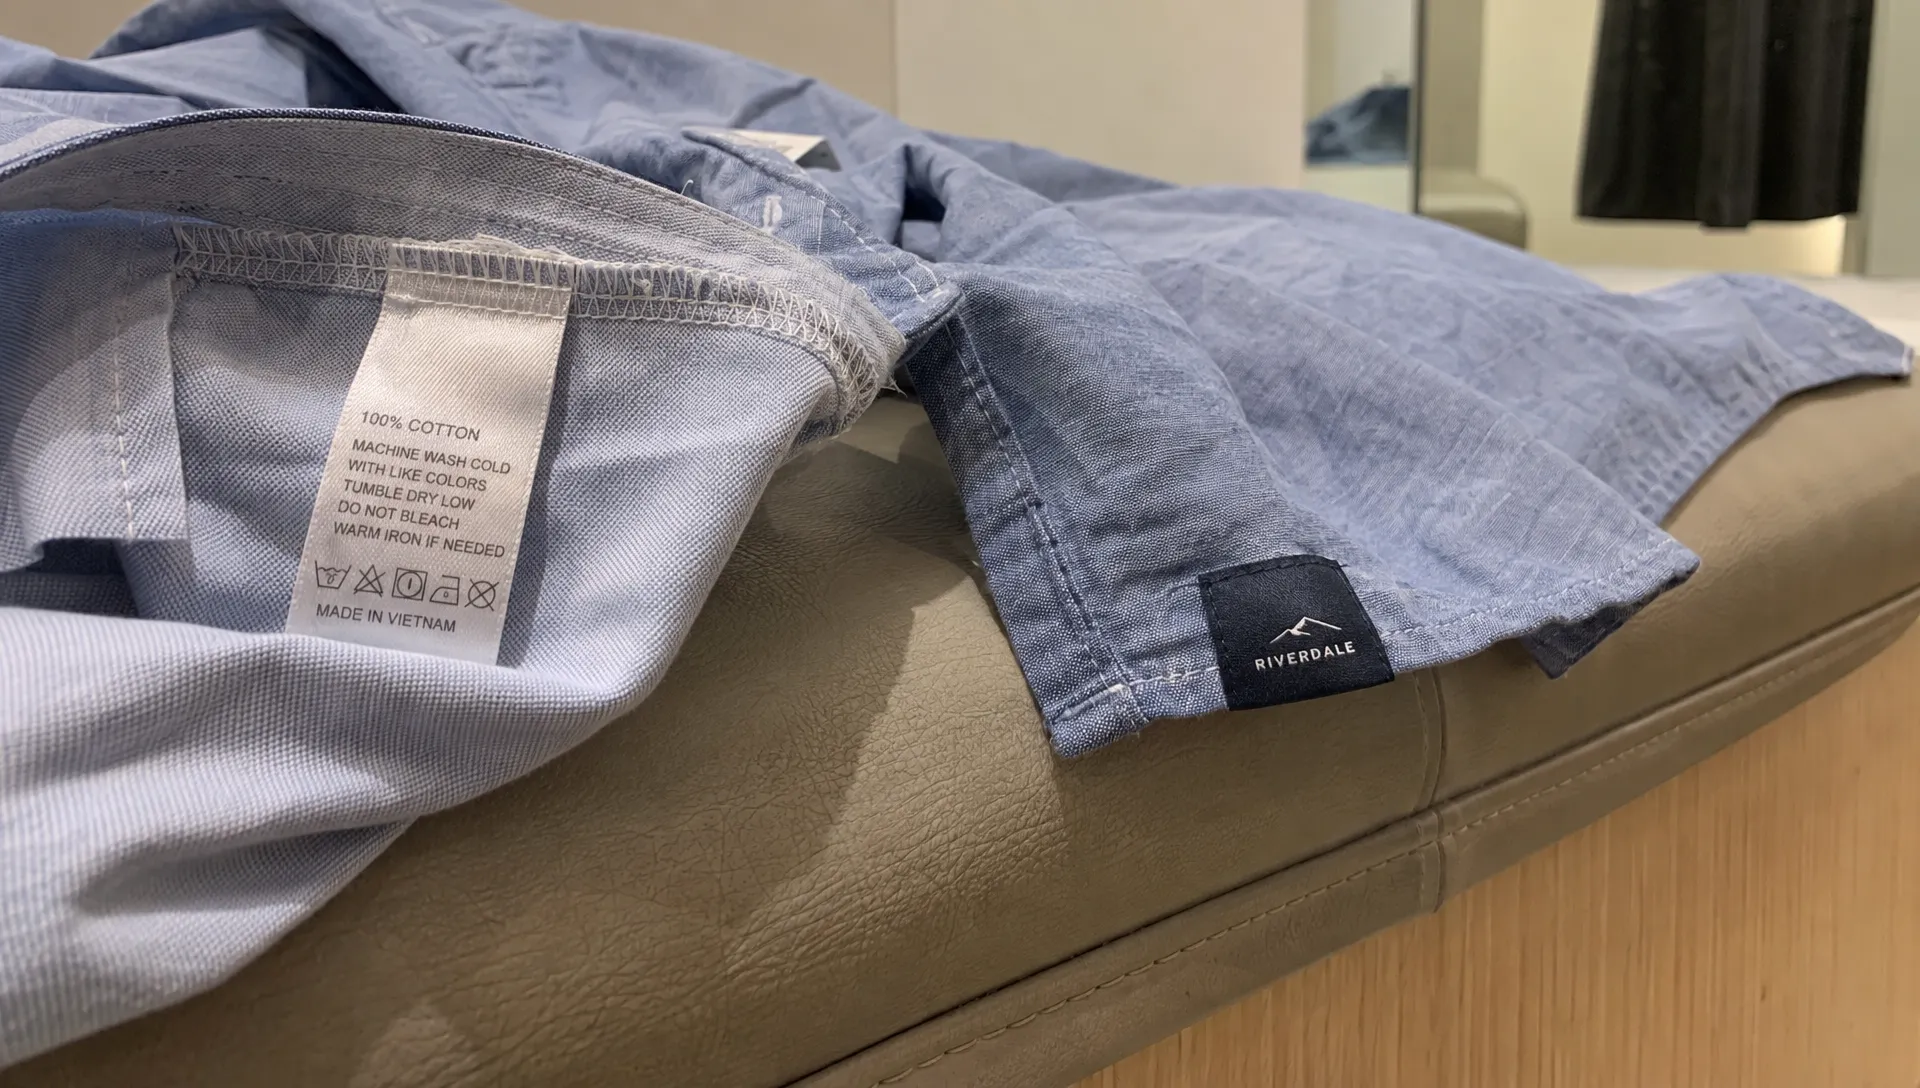
An exterior hem label can keep the label itself away from direct skin contact, although its attachment stitches may still be noticeable inside. A side-seam position can work for some garments, but it may rub under close-fitting layers. Waistbands deserve particular attention because belts, elastic and sitting can press a label against the body.
Consider how the garment is actually used. A label that feels unobtrusive while standing might become irritating under a backpack strap, during sleep or when the wearer leans against a chair.
For a prototype, mark two possible locations before sewing. Ask the wearer which one they prefer, then test the chosen position with the clothing and accessories they normally use. Keep pins and temporary fasteners away from the skin during fitting and remove them before wear.
If an exterior label suits the design, plan its orientation early. A small brand mark on the outside may provide enough recognition without adding a second decorative label inside. Required garment information still needs separate consideration.
Sew the label without creating a new pressure point
A comfortable label can become uncomfortable through attachment. Dense stitching, bunched fabric and bulky thread ends can all undermine a suitable material choice.
Use a needle, thread and stitch setup appropriate for the garment fabric and label. Test on a scrap of the same fabric first, especially with lightweight knits. The attachment should hold securely without puckering or making the surrounding fabric stiff.
When sewing personalized sewing labels for clothing, inspect the inside of the garment as carefully as the visible label. Check that cut ends are enclosed where the construction requires it, corners do not project toward the skin and securing stitches have not formed a hard lump.
Do not assume that sewing every edge down is always more comfortable. It can prevent movement, but it also creates a larger stitched area. Attaching only the intended ends may feel better for another wearer. Compare finished samples rather than relying on one universal sewing method.
Avoid trimming a finished label casually to make it smaller. Cutting can expose yarns, damage the edge finish or create a new rough surface. Request the appropriate finished dimensions instead.
Test the whole garment, then wash and test again
Before ordering personalized sewing labels for clothing in quantity, make a wearable prototype. Handling a loose sample is useful, but it cannot reveal how the label interacts with the garment’s seams, stretch and fit.
Begin with a brief fitting and extend wear only if it remains comfortable. Include ordinary movements such as sitting, bending and reaching. Test under the layers the wearer actually uses, rather than only over an undershirt that may not always be worn.
A simple sample record can capture the details that are otherwise easy to forget:
- Construction: Label material, dimensions, edge finish and fold.
- Attachment: Placement, thread, stitch setup and any fabric distortion.
- Wear feedback: Where the label was noticed and during which activities.
- After washing: Changes in stiffness, curling, fraying or stitch tension.
Wash and dry the sample according to the garment’s intended care instructions, then repeat the comfort check. Evaluate more than one laundering cycle before approving a larger run when your schedule allows. The label should remain readable and securely attached without developing an irritating edge.
If the wearer reports pain or develops skin irritation, stop the test and remove the garment. Do not treat discomfort as something they need to get used to.
Keep branding choices separate from labeling obligations
For clothing sold in the United States, reducing unnecessary tags does not mean removing required information. Requirements depend on the product and the rules that apply to it.
The FTC’s guidance on the Care Labeling Rule explains that covered garments generally need a permanent care label that remains attached and legible throughout the product’s useful life. A removable brand tag or packaging insert is not a substitute where a permanent care label is required.
Fiber content, country of origin and responsible business identification have additional requirements. Consult the FTC’s textile labeling guidance before consolidating or relocating information. Placement rules can apply, including country-of-origin placement for certain garments with a neck.
Your practical objective is to avoid unnecessary duplication while keeping required information readable and correctly placed. HiLabels’ guide to printed sewing labels for care details provides additional context for planning a separate care label when needed.
For personal sewing projects, you have more flexibility over decorative branding. Keeping a record of fiber content and washing instructions is still useful, even when a sewn-in brand label is unnecessary.
Give your label supplier a comfort-focused brief
A clear specification makes personalized sewing labels for clothing easier to evaluate before production. Instead of requesting only a “soft label,” explain where it will sit, what fabric it will attach to and whether either face could touch the skin.
Include the finished dimensions, artwork, intended fold and attachment method. Ask which edge finishes are available and whether the proposed construction adds folded layers. Request a finished sample if available, particularly when ordering for a wearer who has rejected labels before.
Keep personalization purposeful. A brand name, size or owner’s name may be useful, but extra slogans and decorative detail can require a larger label. If identification is the priority, choose clear lettering and sufficient contrast rather than fitting several messages into a small space.
For an inclusive clothing brand, describe verified construction details instead of promising that a label will be comfortable for everyone. “Exterior brand label” or “no brand label at the back neck” tells shoppers something concrete. “Sensory-friendly” alone does not explain what has changed.
Record the approved specification so repeat orders can be checked against the same reference sample. Reassess comfort if the label dimensions, finish, garment fabric or attachment method changes.
Frequently asked questions
Are woven or printed labels better for sensory-sensitive wearers? Neither category is universally better. Compare the finished surface, edges, thickness and attachment on the actual garment. Placement can make a greater difference than the choice between woven and printed construction.
Can personalized sewing labels for clothing go on the outside? Decorative brand labels can often be placed on an exterior hem or another suitable location. Check the attachment stitches inside the garment and verify applicable placement requirements before moving mandatory information.
Should I choose a folded label to hide rough edges? A fold can enclose a cut edge, but it also adds thickness. Ask for the finished construction and test it in the intended position. A fold is a design option, not a guarantee of comfort.
Is a removable label the best solution? It may suit optional branding, but removal can leave thread ends, damage fabric or conflict with permanent labeling requirements. For someone who cannot tolerate an interior brand label, omitting that optional label or using exterior branding may be a better starting point.
Plan your label around the garment
Start with a preferred location, choose a simple design and test the finished attachment before committing to quantity. Keep the wearer’s feedback as the deciding factor.
When you are ready to develop a woven option, use HiLabels’ custom woven label configurator to upload artwork and specify dimensions, finish and design notes. Explain the intended placement and comfort concerns, then confirm the construction details before approving your order.


