Best Iron On Patches for Clothes and When to Use Them
An iron-on patch can do a lot of work for a small piece of fabric. It can cover a tear, turn a plain jacket into a branded piece, identify a team member, or add a collectible detail to a hoodie, tote, cap, or uniform. The key is choosing the right patch for the garment, not just the design you like best.
The phrase “iron-on patch” actually refers to the backing, not the patch style. A woven patch, embroidered patch, printed patch, or chenille patch can all be made with a heat-activated backing when the materials and production method allow it. That means the best iron on patches for clothes depend on three things: the look you want, the fabric you are applying them to, and how much wear and washing the garment will face.
Below is a practical guide to the most useful patch types, when to use them, when to avoid them, and how to get a cleaner, longer-lasting application.
What makes an iron-on patch “best”?
A good iron-on patch needs more than attractive artwork. It should feel appropriate on the garment, hold its shape after wear, and bond securely when heat is applied correctly. For apparel brands, it also needs to match the quality of the product it is attached to. A premium hoodie with a patch that curls after two washes sends the wrong message.
The strongest choices usually have these qualities:
- A suitable patch face that fits the artwork, such as woven for small details or embroidered for bold texture.
- A clean edge finish that resists fraying and looks intentional on the garment.
- A compatible heat-seal backing designed for the garment fabric and care conditions.
- Readable design details at the final patch size, especially for logos, lettering, and icons.
- A realistic care plan based on how often the garment will be washed, stretched, or exposed to abrasion.
Iron-on patches are convenient, but they are not magic. Heat, pressure, time, and fabric compatibility all matter. If a garment cannot safely tolerate heat, a sew-on patch or another attachment method may be the better option.
Best iron-on patches for clothes by use case
Different patch constructions create very different results. A patch for a streetwear hoodie should not always be the same as a patch for a lightweight children’s shirt or a rugged work jacket.
| Patch type | Best for | Why it works | Watch out for |
|---|---|---|---|
| Woven patches | Detailed logos, small text, premium apparel, lightweight garments | Fine threads allow crisp detail and a smooth finish | Very tiny text still needs enough size and contrast |
| Embroidered patches | Denim, jackets, uniforms, hats, vintage-inspired designs | Raised stitching creates a bold, textured look | Fine gradients and tiny lettering may not reproduce cleanly |
| Printed patches | Full-color artwork, illustrations, gradients, photo-like designs | Printing can capture more color variation than thread-based styles | Surface durability depends on material, ink, and care |
| Chenille patches | Varsity jackets, statement pieces, collegiate looks | Thick loops create a plush, high-impact texture | Not ideal for small details or very frequent abrasion |
| Reflective or specialty patches | Outerwear, bags, utility apparel, team gear | Adds function or a distinctive finish | Must be checked carefully for heat compatibility |
Woven iron-on patches: best for clean brand detail
Woven patches are one of the most versatile options for apparel branding. Because the design is created with woven threads rather than raised embroidery stitches, they can capture fine lines, smaller lettering, and compact logos with a smooth finish. That makes them especially useful for clothing brands, merch lines, designers, and creators who want the patch to look polished rather than bulky.
Use woven iron-on patches when you need a refined, modern look on garments like hoodies, sweatshirts, beanies, lightweight jackets, overshirts, and tote bags. They work well for minimalist logos, wordmarks, small icons, and brand badges where readability matters.
They are also a strong option when you want your patch to coordinate with other brand elements, such as woven neck labels, hem tags, care labels, and custom ribbons. For a complete branding system, the patch should feel like part of the garment, not like an afterthought.
Embroidered iron-on patches: best for classic texture
Embroidered patches are the familiar choice many people picture first. They have raised stitching, tactile dimension, and a traditional look that works especially well on denim jackets, canvas workwear, varsity-inspired pieces, uniforms, and casual outerwear.
Choose embroidered iron-on patches when the artwork is bold and not overly detailed. Large block letters, simple symbols, shield shapes, mascots, and club-style graphics usually translate well. The raised thread gives the patch visual weight, so it can make a garment feel more rugged or heritage-inspired.
The tradeoff is detail. If your artwork includes thin lines, small text, subtle shading, or complex gradients, embroidery may simplify the design more than you expect. In that case, a woven or printed patch may be more effective.
Printed iron-on patches: best for color-rich artwork
Printed patches are useful when the design relies on full color, shading, illustration, or photographic effects. Instead of translating artwork into thread, the image is printed onto a patch surface. This can make printed patches a good fit for artist merch, event apparel, promotional drops, and designs with many colors.
They are often the right choice when the patch needs to show detail that would be too complex for embroidery. However, they can feel less dimensional than embroidered or chenille patches, and their long-term appearance depends heavily on the base material, print quality, and washing conditions.
If you are deciding whether a patch is the right solution or whether the artwork should be printed directly onto the garment, it is worth comparing fabric compatibility, durability, and feel across production methods. This guide to apparel printing methods such as sublimation, screen printing, and DTF is a useful reference when weighing patches against direct decoration.
Chenille iron-on patches: best for statement pieces
Chenille patches are plush, bold, and instantly recognizable. They are common on varsity jackets, school apparel, sportswear, and fashion pieces that want a retro or collegiate feel. Their fuzzy looped texture gives them a strong visual presence, even from a distance.
Use chenille when the patch itself is meant to be a feature. Large letters, numbers, simple mascots, and graphic shapes work well. It is less suitable for small logos, tiny text, or garments that need a flat, subtle finish.
Because chenille is thicker and more textured, placement matters. It usually works better on sturdy garments such as jackets and sweatshirts than on thin T-shirts or stretchy fabrics.
When iron-on patches are the right choice
Iron-on patches are popular because they are fast, approachable, and clean-looking. They are especially useful when sewing would be too slow, too costly, or impractical for the quantity you need.
They are often a smart choice for:
- Small brand drops where you want a professional accent without complex production.
- Merchandise and events where patches help create a collectible look.
- Denim and canvas repairs where a patch can cover damage and add personality.
- Uniforms and team apparel where consistent placement is important.
- Sampling and product testing where you want to evaluate patch size, color, and placement quickly.
- DIY customization when the wearer wants to personalize a garment at home.
For brands, iron-on patches can also be useful during early product development. You can test placement on different garment types before committing to a larger run. Once you know what works, you may choose to keep using heat-seal backing or add stitching for extra security.
Best fabrics for iron-on patches
The fabric underneath the patch is just as important as the patch itself. Heat-activated adhesive needs a surface that can handle pressure and temperature without melting, shrinking, scorching, or losing its finish.
| Garment fabric | Iron-on suitability | Notes |
|---|---|---|
| Cotton | High | Usually bonds well and tolerates heat when care instructions allow it |
| Denim | High | One of the best choices for patches because it is sturdy and heat tolerant |
| Canvas | High | Good for jackets, totes, workwear, and utility pieces |
| Cotton-poly blends | Medium to high | Often suitable, but temperature should match the most heat-sensitive fiber |
| Fleece and sweatshirting | Medium | Works well in many cases, but pile and stretch can affect bonding |
| Nylon | Low to medium | Can melt or discolor, so heat settings must be checked carefully |
| Polyester performance fabrics | Low to medium | Heat sensitivity, stretch, and coatings can make bonding difficult |
| Leather and faux leather | Low | Direct heat can damage the surface, so sewing or specialist application is usually safer |
| Waterproof or coated fabrics | Low | Coatings may prevent adhesive from bonding properly |
Always check the garment care label before applying heat. If the garment says “do not iron,” an iron-on patch is risky. In that case, sew-on attachment, hook-and-loop backing, or a different branding method may be more appropriate.
When not to use iron-on patches
Iron-on patches are convenient, but there are situations where they are not the best option. The biggest warning sign is a fabric that cannot tolerate heat. Technical outerwear, coated rainwear, delicate synthetics, leather, faux leather, and some performance knits may be damaged by the heat and pressure needed to activate adhesive.
You should also be cautious with high-stress placements. Elbows, knees, seat areas, stretchy side panels, and areas that bend repeatedly can weaken the bond over time. If the patch will be pulled, flexed, or washed frequently, sewing around the edge can help keep it secure.
For commercial apparel, think about the customer’s real use. A decorative patch on a lifestyle hoodie may perform well with proper care. A patch on a work uniform that is washed aggressively every week needs a more durable attachment plan.
Iron-on vs sew-on vs adhesive patches
Iron-on is only one attachment method. It is often the easiest, but it is not always the most durable. Understanding the difference helps you choose the right backing before production.
| Attachment method | Best for | Main advantage | Limitation |
|---|---|---|---|
| Iron-on backing | Apparel, bags, uniforms, DIY customization | Fast application with a clean finish | Requires heat-safe fabric and correct pressure |
| Sew-on backing | Premium apparel, high-wash items, heavy use | Very secure and long-lasting | Takes more time and labor |
| Iron-on plus stitching | Retail apparel, uniforms, jackets | Combines clean placement with added durability | Requires both heat application and sewing |
| Pressure-sensitive adhesive | Temporary placement, packaging, mockups | Easy to position without heat | Not intended for long-term garment wear |
| Hook-and-loop backing | Tactical, workwear, interchangeable patches | Removable and replaceable | Adds bulk and requires a receiving side |
For many brands, the most dependable solution is iron-on plus stitching. The heat backing holds the patch in place and creates a smooth surface, while stitching around the edge adds long-term security.
How to choose the right patch size and placement
Patch size should be based on both artwork readability and garment proportions. A logo that looks great on a jacket back may feel oversized on a chest placement. A small badge that looks refined on a beanie may disappear on a heavyweight hoodie.
Common placements include the left chest, sleeve, hem area, center back, pocket, cuff, shoulder, and hat front. For retail apparel, the best placement usually feels intentional and repeatable. If you are creating a line of products, consistent placement can help customers recognize your brand faster.
Before ordering, print your patch artwork at actual size and place it on the garment. Step back and look at it from normal viewing distance. If the text is hard to read on paper, it will likely be harder to read in thread.
For more guidance on patch selection beyond heat backing, HiLabels’ guide on how to choose the right patches for any apparel line covers patch styles, placement, and apparel categories in more detail.
How to apply an iron-on patch cleanly
Every patch supplier may provide slightly different instructions, so always follow the directions that come with your specific patch. The general process is straightforward, but small mistakes can affect the bond.
- Check the garment care label and confirm the fabric can be ironed safely.
- Place the garment on a firm, heat-safe surface rather than a soft ironing board if more pressure is needed.
- Preheat the fabric briefly to remove moisture and wrinkles from the application area.
- Position the patch carefully and make sure it is straight before applying heat.
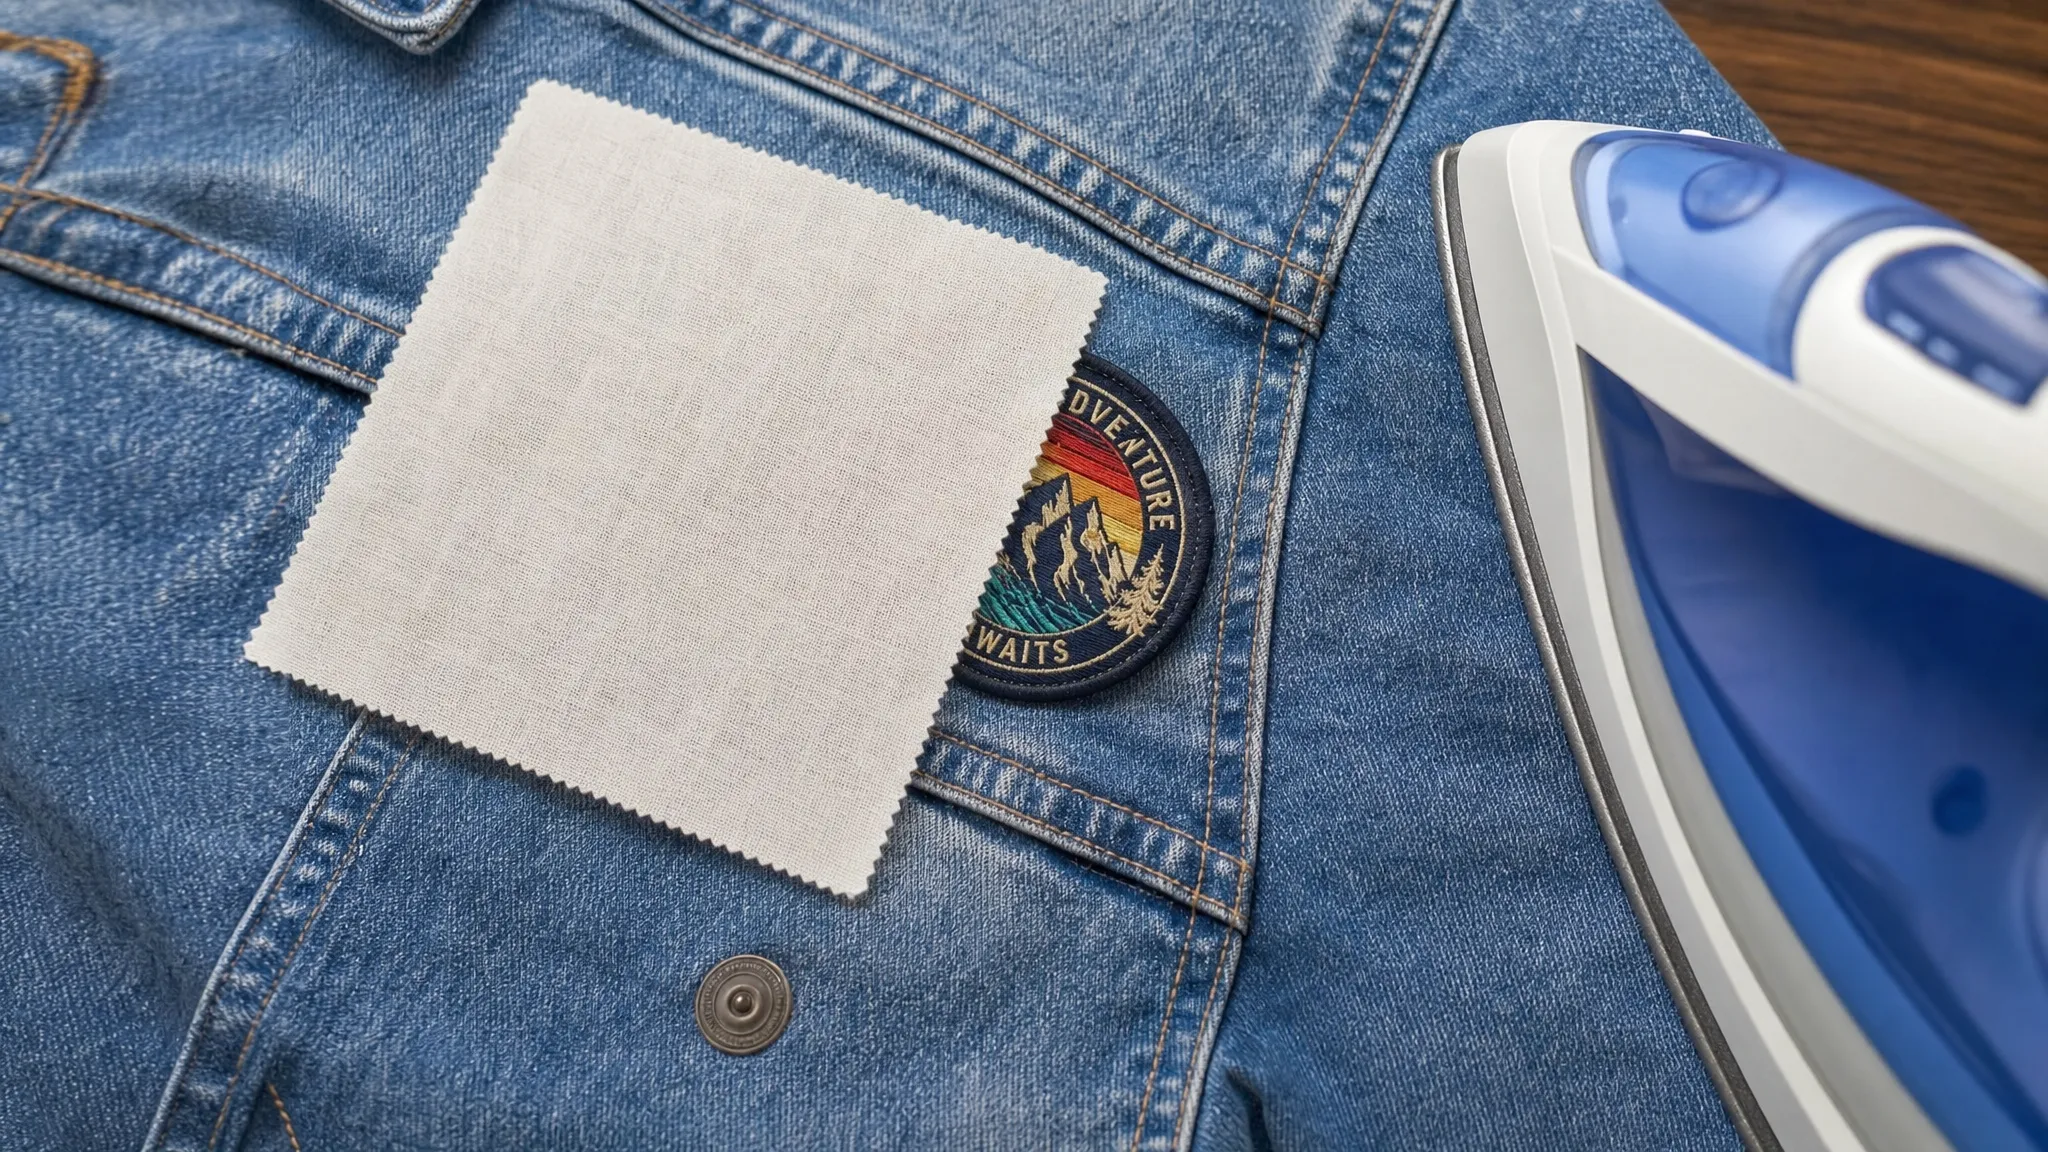
- Use a pressing cloth to protect the patch face and garment surface.
- Apply steady heat and pressure for the time recommended by the patch instructions.
- Let the patch cool fully before testing the edges or moving the garment.
- Check the bond gently and repeat only if the instructions allow additional pressing.
Avoid sliding the iron back and forth. Pressing is usually better than ironing because it keeps the patch from shifting and helps the adhesive bond evenly.
Care tips to help iron-on patches last longer
After application, give the adhesive time to set according to the supplier’s instructions. Washing too soon can weaken the bond before it has fully stabilized.
To help patches last longer, wash garments inside out, use mild cycles when possible, avoid harsh bleaching, and air dry when the garment allows it. High dryer heat can be tough on both adhesives and fabrics. If you notice an edge lifting after repeated wear, stop using the dryer and consider reinforcing the patch with stitching.
For branded apparel, include accurate care information on the garment so customers know how to protect the patch and the garment itself. A custom care label can support the patch by giving clear washing, drying, and ironing guidance.
Designing custom iron-on patches for a brand
If you are creating patches for a clothing brand, team, or product line, start with the role the patch needs to play. Is it the main brand mark? A limited-edition detail? A repair-style decorative element? A uniform identifier? That purpose should guide the design.
Simple marks often work best. Use strong contrast, avoid overcrowding, and make sure borders are thick enough to hold up at the final size. If you need small lettering, woven patches are often a better direction than heavily textured embroidery. If the artwork is bold and heritage-inspired, embroidery or chenille may be more expressive.
Think about the full branding system too. A patch on the outside of a garment should coordinate with the inside neck label, care label, hangtag, packaging ribbon, and other brand details. When those elements feel consistent, the garment looks more professional and memorable.
HiLabels offers custom woven labels, patches, ribbons, zipper pulls, and care labels, helping brands create durable apparel branding pieces with a streamlined online ordering process. If you already have artwork, using an upload-ready process can make it easier to turn a logo or badge concept into a production-ready piece.
Frequently Asked Questions
Are iron-on patches permanent? Iron-on patches are designed to bond securely, but “permanent” depends on fabric type, application quality, wash conditions, and garment use. For heavy wear or frequent laundering, stitching around the edge can improve durability.
What fabric is best for iron-on patches? Cotton, denim, and canvas are usually the most reliable fabrics because they tend to tolerate heat and pressure well. Always check the garment care label before applying a patch.
Can you iron patches onto polyester? Sometimes, but polyester can be heat sensitive. Use the patch supplier’s instructions and the garment’s care label as your guide. If the fabric may melt, shine, shrink, or discolor, choose a sew-on option instead.
Should I sew an iron-on patch after applying it? Sewing is not always required, but it is a good idea for uniforms, jackets, workwear, children’s clothing, and garments that will be washed often. Iron-on plus stitching is one of the most secure combinations.
What type of patch is best for small logo details? Woven patches are often best for small details and clean lettering because they use fine woven threads and have a smoother surface than traditional embroidery.
Can iron-on patches be removed? Some can be removed with heat, but removal may leave adhesive residue or marks on the garment. If you need a removable patch, consider hook-and-loop backing instead.
Create patches that fit your garment and your brand
The best iron on patches for clothes are the ones that match the fabric, the artwork, and the way the garment will be worn. Woven patches are excellent for crisp detail, embroidered patches bring classic texture, printed patches handle color-rich artwork, and chenille patches make a bold statement.
If you are building a clothing line, refreshing uniforms, or creating merch, HiLabels can help you develop custom patches and coordinate them with woven labels, care labels, ribbons, and other branded details. Start with your artwork, choose the right patch style, and create a finish that feels intentional from the first wear.


