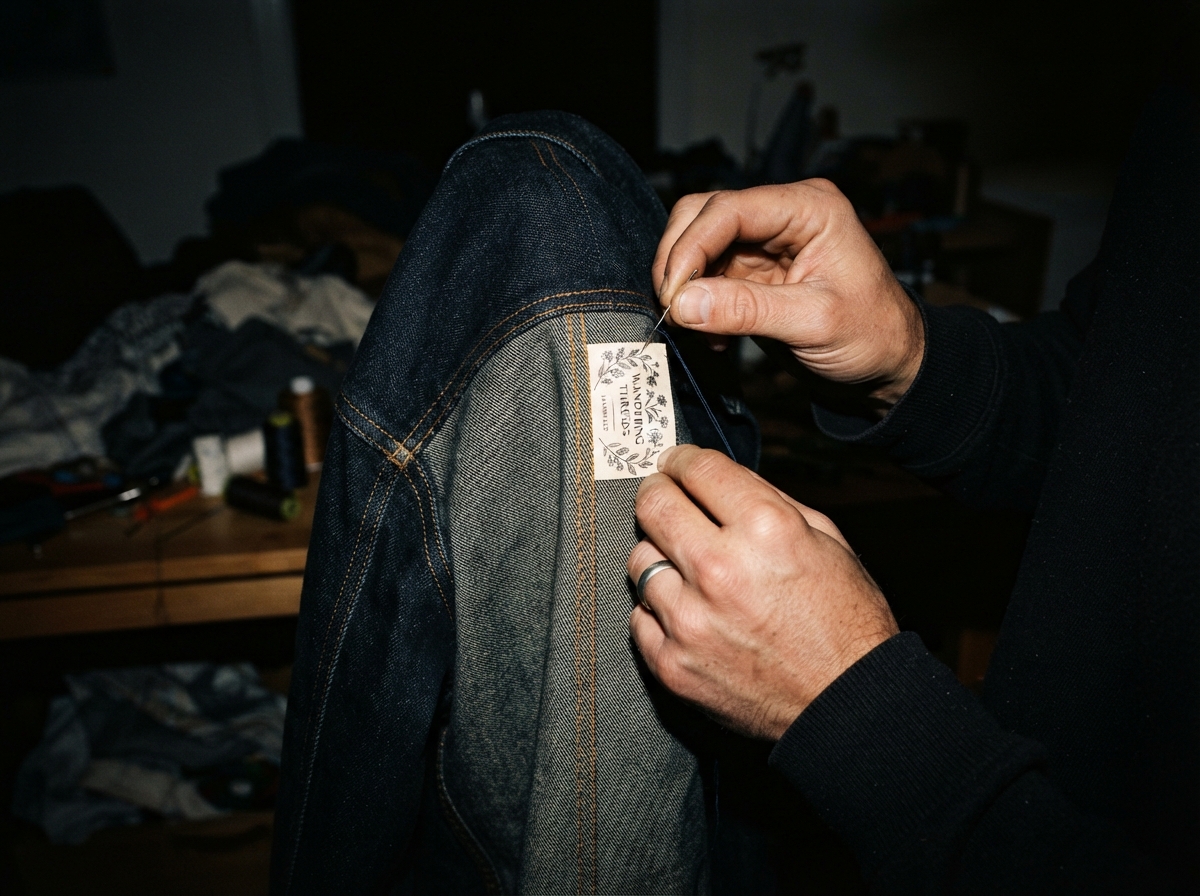
Mastering how to sew fold over clothing labels represents a significant step forward for any independent fashion brand or sewing hobbyist. A well-placed label elevates a simple handmade item into a polished, retail-ready product. Achieving this look requires precision, patience, and the right techniques to ensure the label stays secure while enhancing the overall aesthetic.
When you attach a label, you are essentially signing your work. A crooked or poorly stitched tag can detract from the quality of the fabric and construction. Therefore, learning the correct methods for folding and anchoring your labels will save you time and frustration later. Proper preparation ensures that your branding remains a standout feature, rather than an afterthought.
Preparation and Placement Techniques
Before you begin the physical act of sewing, you must choose the perfect location for your label. Most professional designers place fold over labels on a side seam, a hem, or the back neckline. Regardless of the spot you choose, consistency remains the most important factor. If you sell garments, ensure every piece of clothing features the label in the exact same spot to maintain a cohesive brand identity.
You should also consider the weight and texture of your fabric before you start. For delicate silks, use a finer needle to prevent snags or large holes. If you are working with heavy denim, a stronger thread is necessary to handle the stress of daily wear. Professionals often reference the technical standards provided by the international standards organizations to ensure their textiles and trims hold up under real-world conditions. Furthermore, keep your labels clean by handling them with washed hands to avoid transferring oils or dirt onto the fabric surface.
Achieving a Precise Fold
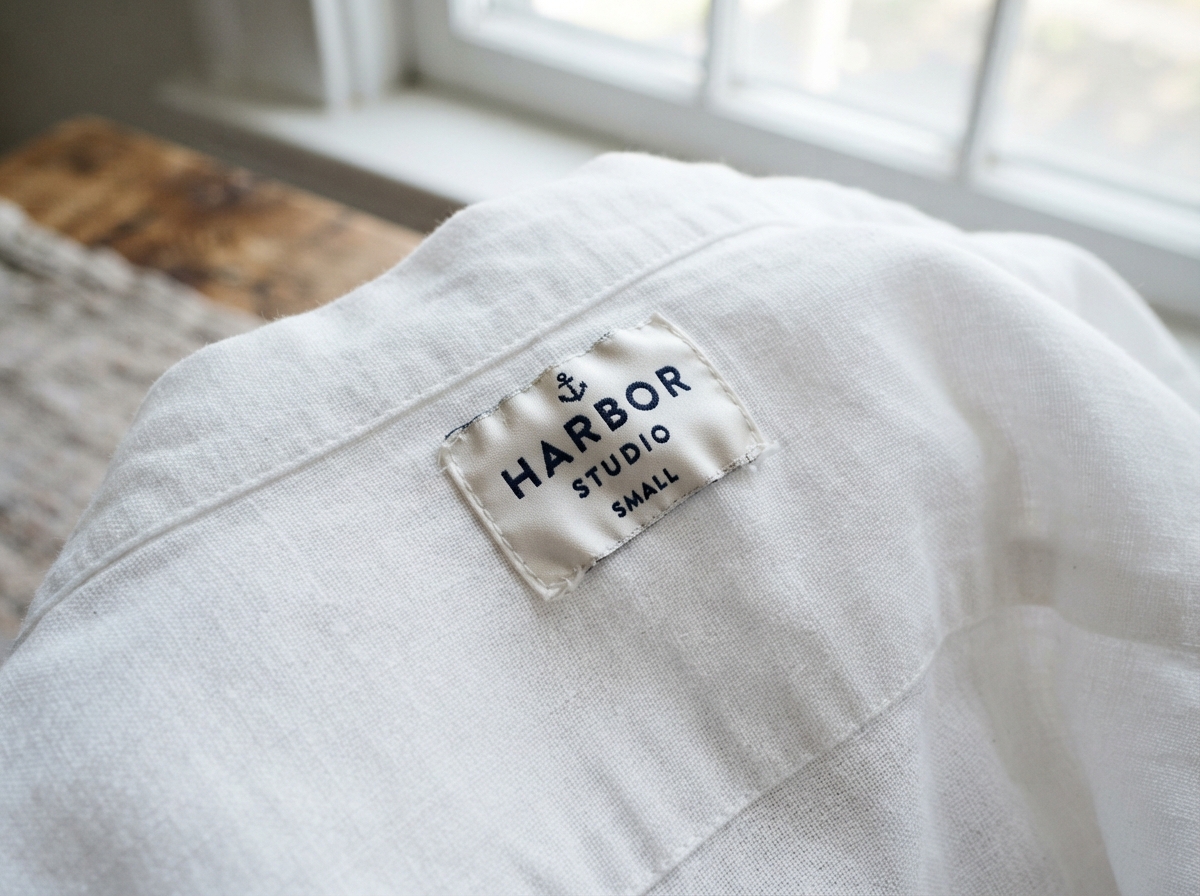
A crisp, clean fold is the hallmark of professional-looking garments. To achieve this, you need to be intentional about your folding method. Many makers find success by using a low-heat iron to set the fold before they ever bring the label near the sewing machine. This step creates a sharp crease that stays in place while you align the label with the seam allowance of your fabric.
If you find that the label shifts during the sewing process, try using a small dab of temporary fabric glue or a tiny piece of wash-away tape to hold it in place. These tools act as a temporary third hand. As a result, you gain much more control over the final position. Additionally, consider how the AATCC testing methods for colorfastness might apply if you are laundering the garment frequently, as you want the thread to remain as vibrant as the label itself.
Executing the Perfect Stitch
Once you have the label positioned correctly, you must decide on your stitching approach. Most pros prefer a straight stitch that runs parallel to the edge of the fabric. If you want a more decorative finish, a small zigzag stitch or a bartack can provide extra security. You should always use a matching thread color to hide your starting and stopping points, as this creates a seamless appearance.
For those interested in high-quality options, exploring the diverse range of HiLabels products can provide you with the professional materials necessary to complete your project. When sewing the label into a seam, remember to pin it securely before you begin. Take your time as you approach the label; slowing down your machine speed allows for tighter, more accurate stitches. If you skip this step, you risk the needle sliding off the edge of the label.
Refining Your Label Finish
After you complete the stitching, perform a final inspection to clean up your work. Trim all loose threads closely to the fabric, as these small details define the difference between amateur and professional results. Sometimes, a quick press with an iron after the label is attached helps it lay perfectly flat against the garment. This simple action removes any puckering that might have occurred during the machine sewing process.
If you notice the fabric bunching, you likely need to adjust the tension of your sewing machine. Testing your stitch on a scrap piece of fabric before working on the final garment is always a smart practice. Remember that even the best labels, such as those from HiLabels, rely on proper application to look their best. With practice, you will find that installing labels becomes a quick, satisfying part of your workflow.
Frequently Asked Questions
Should I use a straight stitch or a zigzag stitch for labels?
A straight stitch provides a cleaner, more traditional look, while a zigzag stitch offers extra durability for items that undergo frequent washing.
How do I stop the label from shifting while sewing?
Use temporary fabric adhesive, wash-away tape, or a standard sewing pin to secure the label in place before lowering the presser foot.
Is it better to sew the label into the seam or onto the surface?
Sewing into the seam creates a cleaner, more integrated look. Surface stitching is easier for beginners and works well for external decorative placement.
Can I use a household iron on my woven labels?
Yes, but always check the heat settings. High heat can sometimes damage synthetic fibers, so use a press cloth if you are uncertain about the temperature.
If you are ready to elevate your brand, visit HiLabels to discover high-quality trims that make your clothing stand out.


