
Learning how to stitch a patch on a shirt allows you to personalize your wardrobe while extending the life of your favorite garments. Whether you want to cover a small tear or simply showcase a unique design, attaching a patch by hand creates a durable and polished result. You can transform a plain piece of apparel into a one-of-a-kind statement with just a needle, some thread, and a bit of patience. Understanding the proper technique ensures your accessory stays secure through countless washes.
Choosing the Right Materials for Your Project
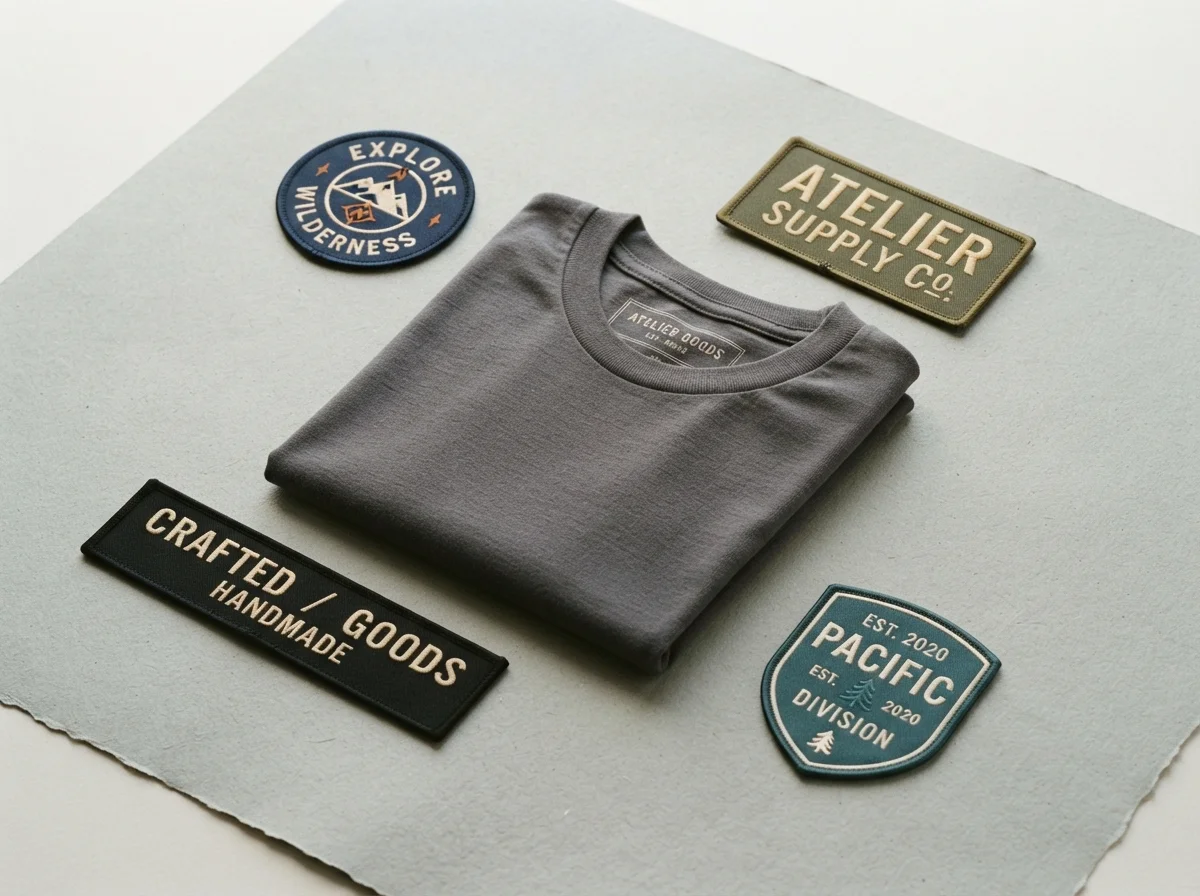
Before you begin, gather the essential supplies. You will need a sturdy needle, thread that matches your fabric, sharp scissors, and straight pins. Polyester thread works best for most projects because it resists fraying and holds up well over time. Additionally, consider the weight of your fabric. If you are working with heavy denim, use a slightly thicker needle to pierce the material easily. If you are attaching a custom patch from HiLabels, ensure it lies flat against the surface. Smooth surfaces prevent bunching while you work. Following the guidelines found in the resources from the Fashion Institute of Technology can help you understand more about textile properties and how different fabrics interact with various stitching methods.
How to Stitch a Patch on a Shirt Successfully
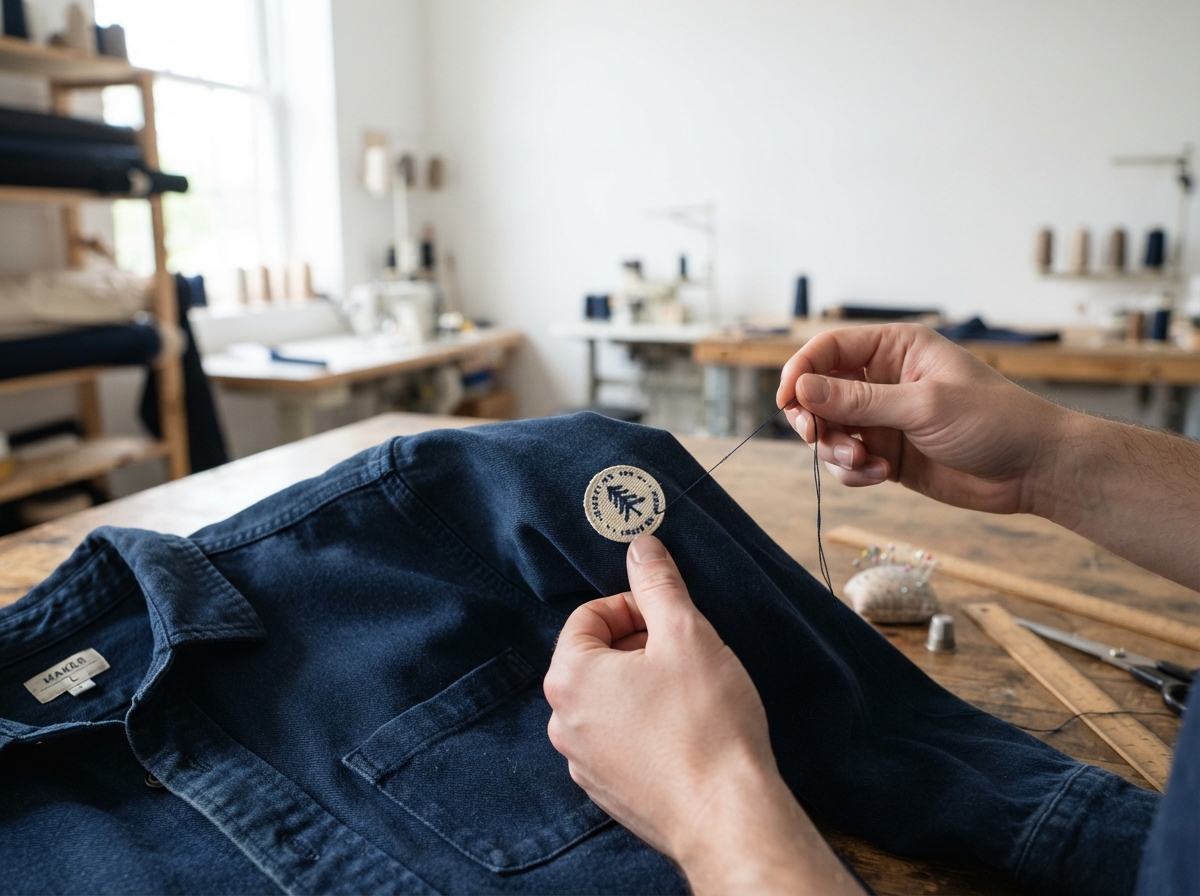
Start by positioning your patch exactly where you want it. Use straight pins to hold the item in place while you prepare your thread. Thread your needle and tie a secure knot at the end. For a clean look, hide the knot on the backside of the patch. Insert the needle from the inside of the shirt to keep the starting point concealed. Use a whip stitch or a running stitch to secure the edges. A whip stitch goes over the edge of the patch, while a running stitch passes through the fabric at regular intervals. Pull the thread gently after each stitch to keep the tension even. Maintaining consistent tension prevents the patch from puckering or sagging. Periodically check the alignment to ensure it remains straight as you work around the perimeter.
Refining Your Technique for Professional Results
Once you finish the final stitch, anchor your thread with a small knot on the underside of the fabric. Trim any excess thread carefully so it does not snag. If your project involves specific care requirements, you might want to review the FTC guidance on care labeling to ensure your newly customized shirt survives the laundry cycle without damage. Additionally, if you find that hand stitching is not for your specific project, you can explore other options like fabric glue or iron-on adhesive. However, traditional sewing remains the most reliable method for longevity. HiLabels offers durable patches designed to withstand frequent wear, making them an excellent choice for any custom project you decide to undertake.
Care and Maintenance After Application
Proper care keeps your work looking fresh. Turn your shirt inside out before placing it in the washing machine. This simple habit reduces friction against the patch during the agitation cycle. Furthermore, use a gentle detergent and wash on a cold setting. If you applied the patch to a delicate item, consider hand washing it instead. Air drying is always the safest option to prevent shrinkage or heat damage. Following these steps preserves the integrity of your stitching. Consistent care ensures your personalized shirt remains a staple in your collection for years to come. You can also visit HiLabels to view our collection of high-quality trimmings and patches to inspire your next creative endeavor.
Frequently Asked Questions
Can I use a machine to stitch a patch? Yes, a sewing machine speeds up the process, though hand stitching often provides better control for small or delicate patches.
What if my patch starts to fray? Use a small amount of fabric sealant or fray check on the edges to prevent further unraveling.
How do I center a patch accurately? Measure from the seams on both sides of the shirt to find the exact middle before pinning the patch in place.
Will the thread be visible? If you match your thread color to the edge of the patch, the stitching will blend in and become nearly invisible to the casual observer.


