How to Pick the Best Patches for Clothes
The best patches for clothes do more than cover fabric. They add identity, make a garment feel finished, and help customers recognize your brand at a glance. A good patch can make a hoodie feel retail-ready, turn a cap into a collectible, or give uniforms a polished, consistent look.
The challenge is that not every patch works for every garment. A thick embroidered patch that looks great on denim may feel bulky on a lightweight T-shirt. An iron-on backing may be perfect for a small run of casual apparel, but sew-on attachment may be the smarter choice for uniforms that go through repeated washing.
To pick well, start with the garment, the design, and the way the clothing will be used. Then choose the patch type, backing, size, and placement that support those needs.
Start With the Job the Patch Needs to Do
Before comparing materials or finishes, define the role of the patch. A brand patch on a premium jacket has a different purpose than a decorative patch on a tote bag or a name patch on a work shirt.
Most patches fall into a few practical categories:
- Branding patches that display a logo, wordmark, icon, or collection name.
- Decorative patches that add personality, color, texture, or seasonal style.
- Uniform patches that identify teams, departments, roles, clubs, or organizations.
- Merchandise patches that need to feel desirable enough for customers to buy or collect.
- Repair or reinforcement patches that cover worn areas while still looking intentional.
Once you know the job, the rest of the decision becomes easier. If the patch needs to communicate a small logo clearly, detail matters. If it needs to create a bold varsity look, texture matters. If it needs to survive heavy use, attachment and wash durability matter most.
Compare the Main Patch Types
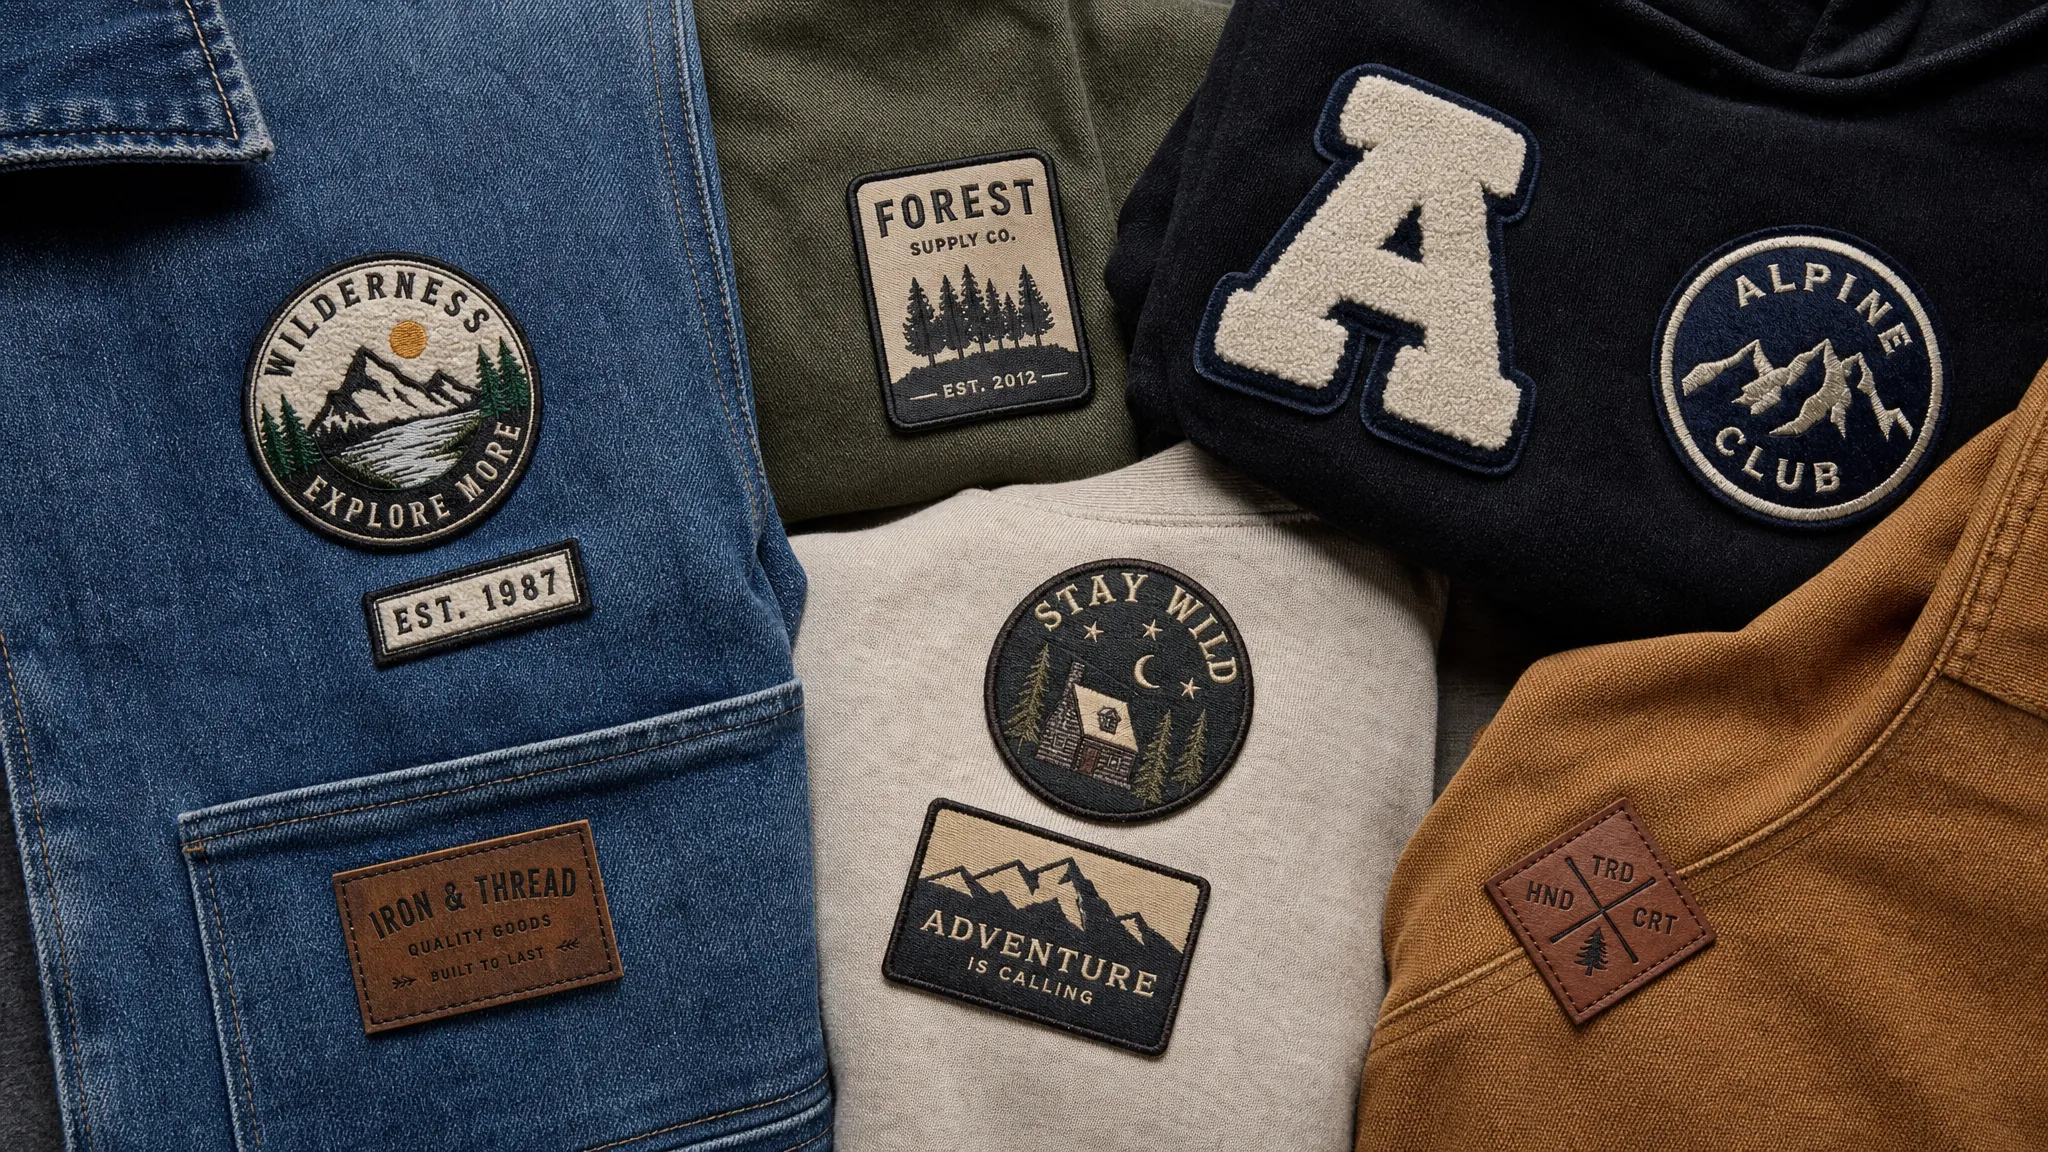
Patch style has the biggest impact on appearance. It affects texture, detail, perceived quality, and how well the patch suits the garment.
| Patch type | Best for | Look and feel | Watch out for |
|---|---|---|---|
| Woven patches | Small text, detailed logos, clean brand marks | Smooth, flat, precise | Less raised texture than embroidery |
| Embroidered patches | Bold logos, classic apparel branding, uniforms | Textured, dimensional, traditional | Very fine details can get crowded |
| Printed patches | Gradients, illustrations, photo-like artwork | Smooth surface with full-color detail | Less tactile than woven or embroidered styles |
| Chenille patches | Letterman jackets, varsity apparel, retro merch | Plush, bold, high-impact | Usually better for larger designs |
| Leather or faux leather patches | Denim, workwear, hats, premium accessories | Rugged, minimal, upscale | Not ideal for every wash process |
| PVC or rubber patches | Outdoor apparel, bags, performance gear | Flexible, modern, dimensional | May not match soft fashion garments |
For many clothing brands, woven and embroidered patches are the most versatile starting points. Woven patches are excellent when your artwork includes thin lines, compact lettering, or a refined logo. Embroidered patches are better when you want visible stitch texture and a more traditional patch effect.
If you are deciding between those two, HiLabels has a helpful comparison of custom embroidered patches vs woven patches that explains the differences in detail, texture, and use case.
Match the Patch to the Garment Fabric
The garment should guide the patch choice. A patch that feels balanced on a canvas jacket may overwhelm a lightweight tee. A delicate patch may disappear on a heavy hoodie or work shirt.
For T-shirts and lightweight knits, keep patches smaller, softer, and more flexible. Woven patches often work well because they can display detail without adding too much bulk. If the shirt fabric stretches, avoid large rigid patches that may pull or ripple.
For hoodies and sweatshirts, you have more flexibility. Embroidered, woven, chenille, and larger statement patches can all work, especially on the chest, sleeve, or back. The thicker garment helps support more texture.
For denim jackets, canvas overshirts, and workwear, durability and attachment strength become more important. Embroidered patches, woven patches, leather-style patches, and sew-on backings often feel appropriate because the base fabric can handle the added structure.
For hats and caps, shape matters. The patch needs to sit cleanly on a curved surface, so overly large or stiff designs may not apply well. Compact woven or embroidered patches are often easier to place cleanly.
For bags and accessories, you can often use bolder shapes and thicker textures. Totes, backpacks, and pouches are excellent places for patches because the surface is visible and usually less affected by body movement.
Choose the Right Backing and Attachment Method
Backing affects how the patch is applied, how permanent it feels, and how much production time is required. The best option depends on fabric type, order size, end use, and whether the garment will be washed frequently.
| Attachment method | Best use | Main advantage | Main limitation |
|---|---|---|---|
| Sew-on | Retail apparel, uniforms, heavy-use clothing | Strong and long-lasting | Requires stitching time or production support |
| Iron-on | Small batches, DIY projects, casual apparel | Convenient and fast | Heat, fabric type, and laundering affect performance |
| Heat press | Production runs with compatible fabrics | More consistent than a household iron | Requires correct temperature and pressure |
| Hook-and-loop | Tactical, team, role-based, or interchangeable patches | Removable and replaceable | Adds thickness and a utilitarian look |
| Adhesive temporary backing | Event samples, placement testing, short-term use | Easy to position | Not a permanent clothing solution |
Iron-on patches are popular because they are easy to apply, but they are not always the best answer. Heat-sensitive fabrics, heavily textured materials, waterproof coatings, and garments that need frequent industrial laundering may require a sew-on approach instead. If you are considering heat application, review when iron-on patches for clothes make sense and when another backing is safer.
When in doubt, sew-on is the most dependable option for long-term wear. It also adds a professional finish when the thread color and stitch placement are chosen carefully.
Think About Durability, Washing, and Real-World Use
The best patch is not just the one that looks good on day one. It should continue to look intentional after the garment is worn, washed, folded, stretched, and handled.
For everyday apparel, ask how often the item will be washed and whether the patch will rub against bags, seat belts, outerwear, or equipment. For uniforms, ask whether garments will be washed at home or through a commercial laundry process. For children’s clothing, softness and secure attachment are especially important.
In food, beverage, and other high-sanitation environments, decoration choices should support the garment’s cleaning requirements rather than interfere with them. Companies focused on sustainable contamination-control solutions show how closely cleaning, labor, hygiene, and production processes can be connected. If your clothing will be used in demanding facilities, choose smooth, securely attached patches that align with the garment’s required care process.
A practical durability check includes three questions. Will the patch edge lift or fray? Will the colors remain readable after washing? Will the attachment method hold up to the way the garment is used? If any answer is uncertain, simplify the design, choose a stronger backing, or request guidance before production.
Get the Design Details Right
Patch artwork has to work at actual size. A logo that looks sharp on a large screen may become hard to read when reduced to a two-inch patch.
Start by simplifying the design. Keep the most recognizable elements and remove tiny details that do not contribute to recognition. Strong silhouettes, clear lettering, and high contrast usually perform better than complicated artwork.
Borders also matter. A merrowed border gives a classic raised edge and works well on standard shapes like circles, squares, rectangles, and shields. A laser-cut or heat-cut border can be better for custom shapes or designs that need a cleaner, flatter edge.
Color should support visibility. If the garment is dark, a patch with enough contrast will stand out. If you want a subtle tone-on-tone look, make sure the logo is still readable in normal lighting. Premium minimalism should feel intentional, not invisible.
As a general guide, use this size logic before approving artwork:
| Patch size | Works well for | Design guidance |
|---|---|---|
| 1 to 2 inches | Small logos, cuffs, hems, caps | Use simple icons or initials |
| 2 to 3.5 inches | Chest patches, sleeve patches, pocket branding | Good balance of visibility and comfort |
| 4 to 6 inches | Jacket backs, statement patches, team designs | Allows more lettering and detail |
| 6 inches and up | Varsity, club, and merchandise statements | Best on sturdy garments with enough surface area |
Place the Patch Where It Feels Intentional
Placement can make a patch feel premium or awkward. The goal is to work with the garment’s shape, seams, pockets, and natural movement.
Left chest placement is a classic choice for brand logos, uniforms, and workwear because it is visible without being overwhelming. Sleeve patches are excellent for secondary branding, team marks, flags, and collection details. Hem patches create a subtle retail feel, especially on shirts and sweatshirts.
Back patches are best for larger designs, club apparel, jackets, and statement merchandise. They create high visibility, but they need enough scale to feel deliberate. Pocket patches can look great, but the patch must fit the pocket area without interfering with function.
Before production, test placement on a physical garment whenever possible. Pin or temporarily tape a sample in place, then view it while the garment is worn. A patch that looks centered on a flat table may shift visually when placed on a body.
Use a Simple Ordering Checklist
Before you place an order, confirm the details that affect quality, cost, and production success. This is especially important if you are ordering patches for a brand launch, team uniforms, event merchandise, or a repeat apparel program.
Your checklist should include:
- Garment type and fabric weight.
- Patch style, such as woven, embroidered, printed, or chenille.
- Final patch size and shape.
- Border style and edge finish.
- Backing or attachment method.
- Artwork file quality and color expectations.
- Wash and wear requirements.
- Placement on the finished garment.
- Quantity needed now and potential reorders later.
HiLabels makes it easier for brands to create custom woven labels, patches, ribbons, zipper pulls, and care labels online, with options to upload artwork and get personalized customer service. That support matters because small production decisions can make a big difference in how finished apparel looks and performs.
Frequently Asked Questions
What are the best patches for clothes overall? The best patches for clothes depend on the garment and design. Woven patches are excellent for fine detail, embroidered patches are ideal for texture and classic branding, and printed patches work well for full-color artwork.
Are sew-on patches better than iron-on patches? Sew-on patches are usually better for long-term durability, uniforms, and garments that will be washed often. Iron-on patches are convenient for casual apparel, small batches, and DIY use when the fabric can safely handle heat.
What patch type is best for small text? Woven patches are often the best choice for small text because the weaving process can capture finer detail than traditional embroidery. Even so, text should be large enough to read clearly at the final patch size.
Can patches be used on stretchy clothing? Yes, but choose carefully. Smaller, lighter, and more flexible patches usually work better on stretchy fabrics. Large or stiff patches can restrict movement, cause puckering, or feel uncomfortable.
How do I make a patch look more premium? Use clean artwork, strong contrast, the right border, and balanced placement. Premium patches usually feel intentional, match the garment’s weight, and maintain readability without overcrowding the design.
Create Patches That Fit Your Apparel
Picking the right patch comes down to alignment. Match the patch style to your artwork, the backing to your fabric, and the placement to the way the garment will be worn.
If you are building a clothing line, refreshing uniforms, or creating branded merchandise, HiLabels can help you turn your artwork into high-quality custom patches with a smooth online ordering process and experienced support. Start with the garment, keep the design clear, and choose a patch that looks just as good in real life as it does in your concept file.


