Replacing a Zipper Pull Without Damaging the Slider
Replacing a zipper pull is often the simplest way to save a jacket, bag, pouch or piece of outdoor gear, but the repair can go wrong if you pry, squeeze or twist the slider too aggressively. The slider is the metal or plastic body that joins and separates the zipper teeth. The pull is only the tab, cord, loop or branded attachment you hold with your fingers.
The goal is to attach a new pull without distorting the slider bridge, scraping the finish or weakening the mechanism that keeps the zipper moving smoothly. With the right replacement part and a light hand, most zipper pulls can be replaced in a few minutes.
Before Replacing a Zipper Pull, Confirm the Slider Is Safe to Keep
Start by checking whether the slider is still doing its main job. Zip the item open and closed slowly. If the teeth mesh cleanly, the slider moves without snagging and the zipper does not split behind the slider, you probably only need a new pull.
The safest approach to replacing a zipper pull is to treat the slider as a fixed component, not as something to reshape. If you see a cracked slider body, a missing bridge, bent sidewalls or teeth that will not stay closed, the pull is not the real problem. In that case, replacing the slider is usually the more reliable repair, and HiLabels has a separate guide on how to replace a zipper slider in 6 simple steps.
Know the parts you should not bend
Most damage happens when someone tries to open the small bridge or loop on the slider with pliers. That bridge is not designed to flex repeatedly. On metal sliders, bending can cause stress marks or a loose attachment point. On molded plastic sliders, it may crack without warning.
If the original pull broke off but the bridge is intact, do not spread the bridge unless the slider is specifically designed with an opening bail. If the bridge is closed, use an attachment that works around it, such as a split ring, cord loop, leather strip, small clasp or purpose-made replacement tab.
Gather the Right Tools Before You Start
A careful setup matters more than force. You only need a few small tools, and the best choices are the ones that let you control pressure precisely.
Helpful tools include:
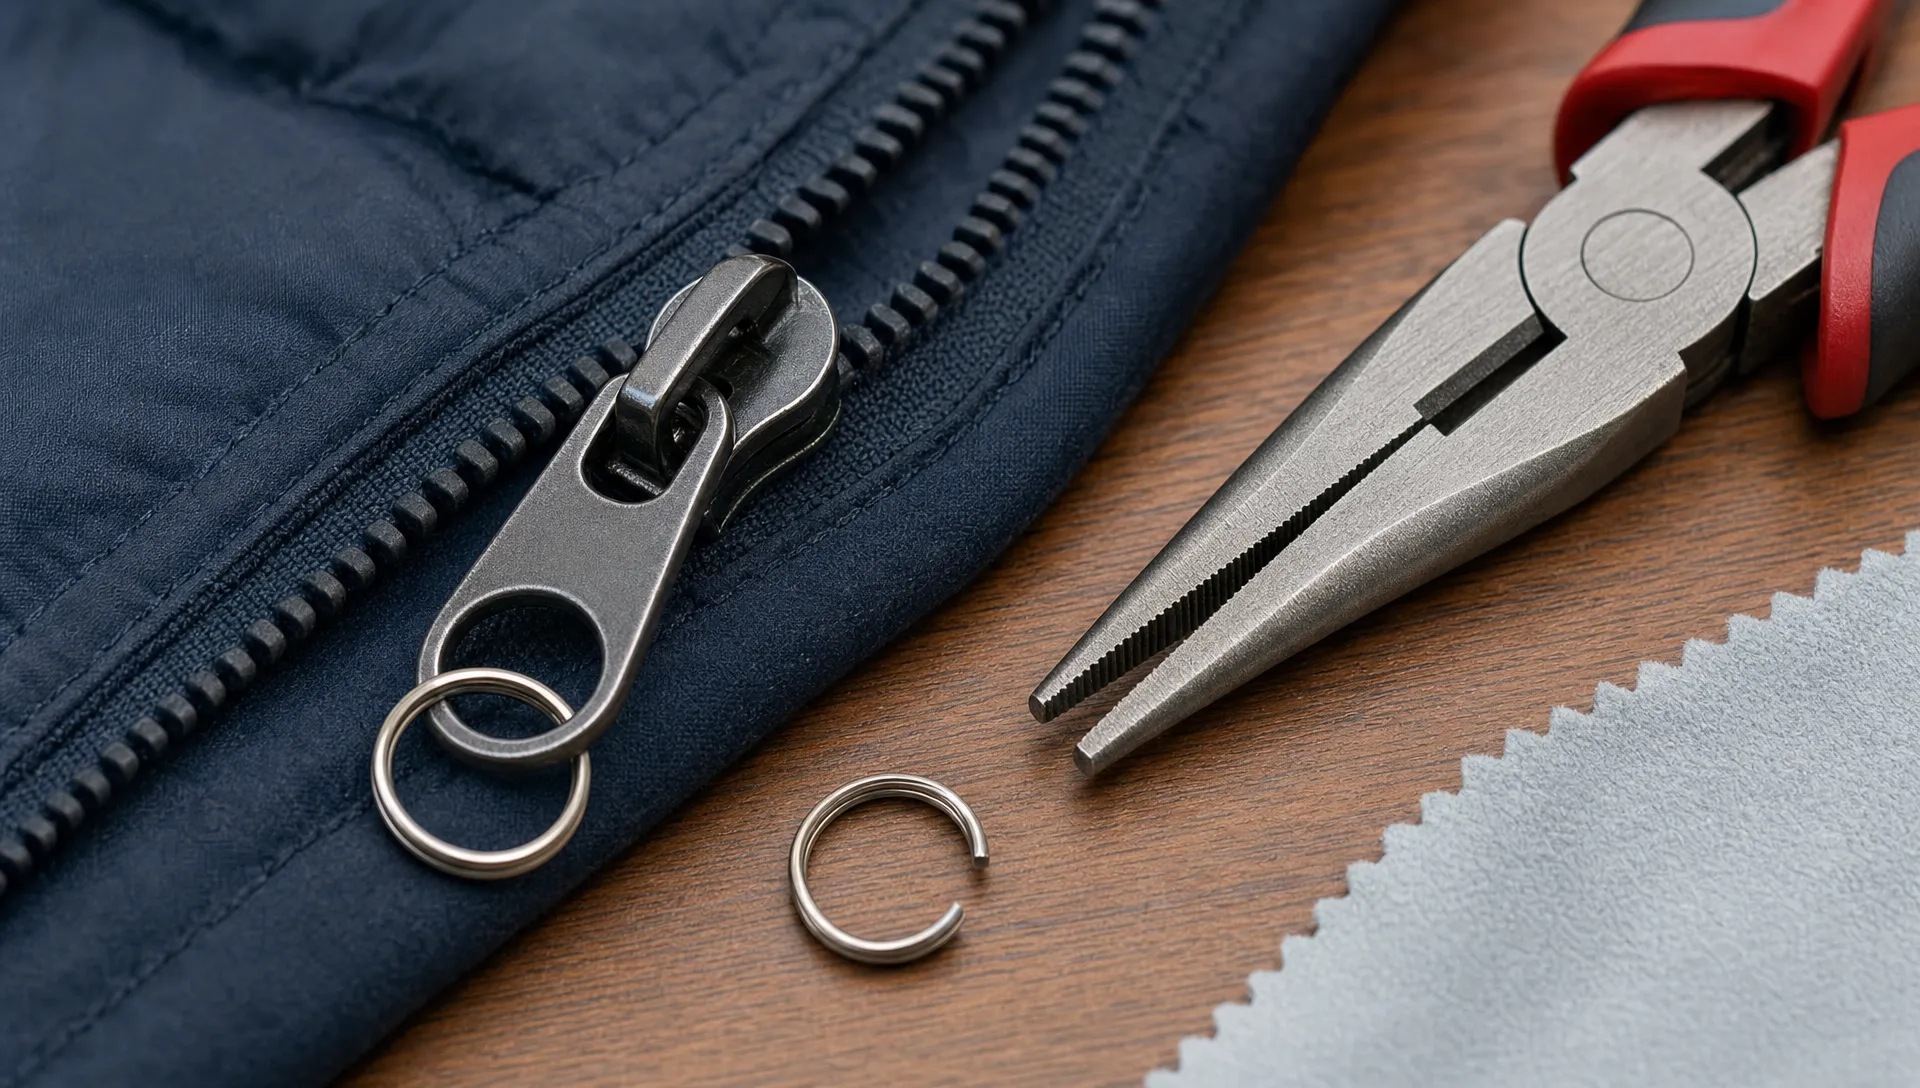
- Needle-nose pliers with smooth or taped jaws
- Split ring pliers for small metal rings
- A soft cloth to protect the zipper and fabric
- Painter's tape or masking tape for shielding nearby material
- A small flat tool for guiding cord, not prying the slider
- The replacement pull, ring, cord, leather tab or custom zipper pull
When replacing a zipper pull on a finished garment or bag, cover nearby fabric, leather or coated hardware before using pliers. Remove rings and bracelets before handling metal tools, both for grip and to avoid scratching fine jewellery, especially pieces like premium diamond engagement rings that should never be pressed against zipper hardware or plier jaws.
Choose a replacement that matches the slider
The replacement pull should fit the opening without forcing it. A thick metal charm may look good, but if the connector is too large, it can rub the slider bridge or sit at an awkward angle. A very heavy pull can also stress lightweight nylon coil zippers on pouches, dresses or small bags.
Use this quick comparison to choose a low-risk attachment method.
| Slider condition | Best pull option | Risk to slider | Best used for |
|---|---|---|---|
| Closed bridge, intact slider | Split ring or cord loop | Low | Bags, jackets, backpacks |
| Open bail slider | Replacement tab designed for bail sliders | Medium if over-bent | Coats, luggage, gear |
| Tiny slider opening | Thin cord, waxed cord or narrow leather | Low | Pouches, wallets, dresses |
| Broken bridge or cracked body | New slider, not just a pull | High if reused | Any zipper that no longer holds a pull |
| Branded product | Custom pull with compatible connector | Low to medium | Apparel lines, accessories, uniforms |
Method 1: Attach a Pull to a Closed-Bridge Slider
Many modern sliders have a closed bridge, meaning there is no safe way to open the slider itself. Do not try to pry it apart. The cleanest repair is to pass a connector through the bridge.
For metal pull tabs, use a small split ring. Open the split ring with split ring pliers, slide the first coil through the slider bridge and rotate the ring until it sits fully in place. Then attach the pull tab to the same ring. Keep the ring flat as you rotate it so it does not scrape the slider finish.
When replacing a zipper pull on a closed-bridge slider, the pull should swing freely after installation. If it sticks at one angle, the connector is probably too thick or the pull is too wide for the slider. Remove it and switch to a thinner split ring or cord loop rather than forcing the hardware to work.
For cord pulls, thread a loop of cord through the bridge, pass the free ends through the loop and tighten gently. This forms a simple lark's head knot, which is common on outdoor gear and small accessory zippers because it adds grip without adding much weight.
Method 2: Use an Open-Bail Slider Without Warping It
Some sliders include a small bail or hook that opens just enough to accept a pull tab. This is common on certain jacket, luggage and bag zippers. The key phrase is “just enough.” Opening the bail wider than necessary can weaken the metal and make the pull rattle or fall out later.
Place a cloth around the slider to protect the finish. Use the tip of smooth needle-nose pliers to lift the bail only until the replacement pull can slide in. Do not twist the bail sideways. Once the pull is seated, press the bail closed in small movements, checking alignment after each press.
If the bail does not return flush, stop. More squeezing can flatten the slider body or interfere with the zipper teeth. A slightly open bail can sometimes be corrected with controlled pressure, but a deformed slider is harder to repair than a missing pull.
Check movement before closing the repair
After replacing a zipper pull on an open-bail slider, move the tab through its full range of motion before calling the job done. It should fold up, fold down and angle to both sides without scraping the slider body.
If the pull feels tight, the attachment hole may be too thick for that slider. If it feels loose, the bail may not be fully closed or the pull may be too narrow. You want controlled movement, not stiffness and not wobble.
Method 3: Add a Cord, Leather or Fabric Pull
Soft pulls are often the safest choice because they do not require spreading metal parts. Cord, leather and woven fabric pulls also make small sliders easier to grip, especially on bags, outerwear, children's clothing and travel accessories.
For soft goods, replacing a zipper pull with a cord or leather loop can improve usability without changing the zipper itself. Cut the material long enough to grip comfortably, thread it through the slider bridge and secure it with a compact knot or stitched fold. Keep the knot away from the zipper teeth so it cannot catch when the slider moves.
Leather works well on purses and lifestyle bags because it softens the look of worn hardware. Paracord suits backpacks, jackets and outdoor gear because it is easy to grip with gloves. Woven or branded pulls are a good option when the repair needs to match a product line rather than look like a quick fix.
If your goal is a secure attachment rather than a temporary fix, compare connector types in HiLabels' guide on how to install a zipper pull that stays secure.
Mistakes That Damage the Slider
The most common repair mistake is using too much pressure in the wrong place. Zipper sliders are small, but they are precisely shaped. Even a slight change to the sidewalls or bridge can affect how the teeth feed through the slider.
Avoid these habits:
- Prying open a closed slider bridge
- Using serrated pliers directly on finished metal
- Twisting a pull sideways to force it into place
- Choosing a pull that is too heavy for a small slider
- Pressing the slider body to “tighten” it when the issue is only the pull
- Testing the repair by yanking instead of pulling steadily
A careful repair should not leave tool marks. If you need more force than your fingers and small pliers can provide, the pull or connector probably does not fit. Stop and choose a smaller attachment instead of trying to overpower the hardware.
What if the original pull is still partly attached?
If part of the old pull remains, remove it without levering against the slider. A broken split ring can usually be unwound. A cracked plastic tab may need to be clipped away in small pieces. A bent metal tab should be wiggled free only if it is not trapped inside the bridge.
If you are not ready for a full replacement, HiLabels also explains how to fix a broken zipper pull without replacing the zipper, including quick options such as reattaching the original tab or using a temporary loop.
Test the Repair Without Stressing the Zipper
A careful test after replacing a zipper pull tells you whether the attachment is strong enough and whether the slider is still aligned. Start with the item lying flat. Pull the zipper slowly from end to end, watching the teeth as they enter and leave the slider.
Then test the pull from normal angles. On a jacket, pull upward and downward. On a bag, pull across the track in the direction you would naturally open the compartment. On a pouch, test while the pouch is lightly filled, since fabric tension changes how the zipper behaves.
Do not yank the new pull to “prove” it is strong. A good zipper pull is designed for repeated steady use, not sudden shock loads. If the connector opens, the knot slips or the pull rubs against the slider, correct that issue before returning the item to regular use.
Signs the slider was damaged during repair
If the zipper worked before the repair but now catches, splits or feels gritty, inspect the slider closely. Look for flattened sidewalls, a twisted bridge or scratches where the connector is rubbing. Sometimes the new pull is simply too large and the slider is fine. Remove the pull and test the zipper with a temporary cord loop to isolate the cause.
A slider that no longer aligns the teeth needs replacement. Continuing to use it can damage the zipper tape or teeth, which turns a small repair into a larger one.
Replacing Pulls on Branded Products
For clothing brands, makers and repair shops, replacing a zipper pull is not only a maintenance task. It is also a chance to make the product feel complete again. A generic ring may work, but a pull that matches the product's color, texture or logo can make the repair look intentional.
Custom zipper pulls are especially useful for jackets, backpacks, luggage, uniforms, pouches and accessories where the pull is touched every time the product is used. The shape should be easy to grip, the connector should match the slider size and the material should fit the product's purpose. Metal feels polished and durable, cord feels practical and lightweight, and woven or rubber-style pulls can add color and brand recognition.
HiLabels offers custom woven labels, patches, ribbons, care labels and zipper pulls for brands that need durable, professional finishing details. If you are building a product line or refreshing existing inventory, you can explore custom branding products from HiLabels and choose a pull style that supports both function and presentation.
FAQ
Can I replace a zipper pull without removing the slider? Yes. In most cases, you can attach a new pull to the existing slider with a split ring, cord loop, clasp or compatible replacement tab. You only need to remove the slider if the slider itself is cracked, bent or no longer closes the zipper teeth.
Is it safe to open the slider bridge with pliers? Only if the slider has an open bail designed for that purpose. A closed bridge should not be pried apart because it can crack, bend or loosen permanently.
What is the best temporary zipper pull? A small split ring, key ring, cord loop or ribbon can work temporarily. Choose something thin enough to move freely through the slider bridge and strong enough for steady pulling.
Why does my zipper feel worse after I added a new pull? The new pull or connector may be too thick, too heavy or rubbing against the slider. Remove it and test the zipper with a thin cord loop. If the zipper still catches or splits, the slider may have been bent or was already worn.
When should I replace the whole slider instead of the pull? Replace the slider if the teeth separate after closing, the slider body is cracked, the bridge is broken or the slider has been squeezed out of shape. A new pull cannot fix a slider that no longer aligns the teeth.
Make the Repair Look Clean and Last Longer
The best zipper pull repair is the one that restores grip without calling attention to itself. Work slowly, protect the slider finish and choose an attachment that fits the existing hardware rather than forcing the hardware to fit the pull.
For individual repairs, a split ring, cord loop or compatible tab can solve the problem quickly. For brands and makers, a well-designed custom zipper pull can turn a practical replacement into a stronger product detail, one that improves everyday use and reinforces the quality of the finished item.


